
How To Change Your Car’s Air Filter
- rogorsmotors
- Blog
- May 14, 2024
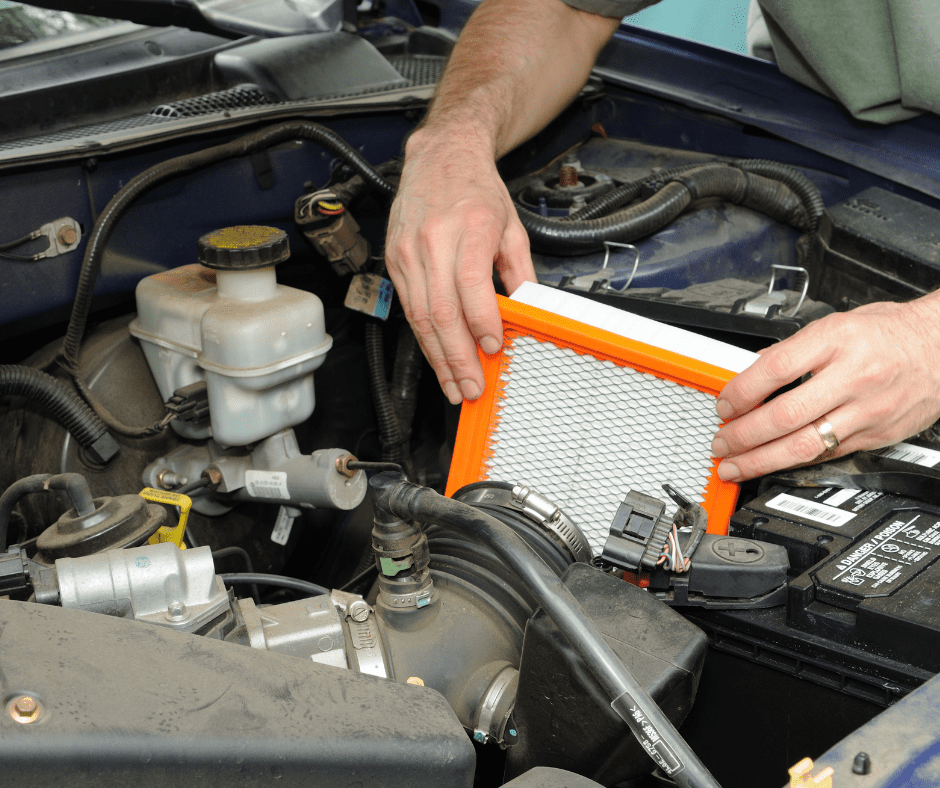
How To Change Your Car’s Air Filter
Your car’s air filter is a critical component that keeps dirt, dust, and debris from entering your engine. A clean air filter helps maintain optimal engine performance, fuel efficiency, and longevity. The good news is that replacing your air filter is one of the easiest DIY car maintenance tasks you can do. Here’s a step-by-step guide to help you through the process.
Why Is Your Car’s Air Filter Important?
The engine air filter prevents harmful contaminants from entering your engine’s combustion chamber. A clogged or dirty air filter restricts airflow to the engine, which can lead to reduced performance, decreased fuel economy, and potentially damage your engine over time. Most manufacturers recommend replacing the air filter every 15,000 to 30,000 kilometres, but this can vary based on driving conditions.
Signs You Need a New Air Filter
– Decreased fuel economy
– Reduced engine performance or acceleration
– Engine misfires or rough idling
– Unusual engine sounds
– Black smoke or flames from the exhaust
– Strong fuel smell in exhaust
– Visibly dirty or clogged filter
How to Change Your Air Filter: Step-by-Step
Step 1: Purchase the Right Filter
Before you start, buy the correct air filter for your vehicle. Check your owner’s manual for the specifications, or bring your car’s make, model, and year to an auto parts store.
Step 2: Locate the Air Filter Housing
Open your car’s hood and locate the air filter housing. In most modern vehicles, it’s a black plastic box near the top of the engine. It’s connected to a large hose, called the intake hose.
Step 3: Open the Air Filter Housing
The housing is typically held together by clips or screws. Unclip or unscrew these fasteners and carefully open the housing. Take note of how the old filter is positioned before removing it.
Step 4: Remove the Old Air Filter
Lift out the old air filter. Take a moment to check if the housing itself is clean. If you see debris or dust in the housing, wipe it out with a damp cloth before installing the new filter.
Step 5: Install the New Air Filter
Place the new filter into the housing in the same orientation as the old one. Make sure it fits snugly and seals properly around the edges. If it’s not seated correctly, unfiltered air could get into the engine.
Step 6: Close the Housing
Reattach the clips or screws to secure the housing. Ensure it is properly closed with no gaps.
Changing your car’s air filter is a simple but important part of vehicle maintenance. By doing it yourself, you can save money and ensure your engine continues to run at its best. If you’re unsure about any step of the process or if you’re experiencing significant performance issues, don’t hesitate to contact us at Rogers Motors Auto Service. Our skilled mechanics are always ready to assist you.